Plugins › Plugins
เริ่มต้น
เนื้อหา
Plugins
การดูแลระบบ
สูตรสำเร็จ
Plugins
หน้านี้สอนอะไร
วิธีใช้ plugin และเขียน plugin เองด้วย field, REST endpoint และ component ในหน้า admin
ควรอ่านก่อน: การตั้งค่า, Hooks
plugin คือฟังก์ชันที่รับ config ของคุณเข้ามาแล้วคืน config ใหม่ จึงเพิ่ม field, collection, hook, REST endpoint และ admin components ได้
import { seoPlugin } from '@easy-cms/plugin-seo'

export default defineConfig({
  // …
  plugins: [seoPlugin({ collections: ['posts'] })],
})
plugin ทำงานตามลำดับก่อนการตรวจสอบ config ถ้า plugin ตั้งค่าผิด ระบบจะแจ้งเหมือนกับที่คุณตั้งค่าผิดเอง
Plugin ทางการ
| แพ็กเกจ | |
|---|---|
@easy-cms/plugin-mcp | MCP server ให้ผู้ช่วย AI (Claude, Cursor, VS Code) อ่านและเขียนเนื้อหาด้วย API key |
@easy-cms/plugin-seo | ชื่อ คำอธิบาย และรูปสำหรับแชร์ พร้อมตัวนับความยาว ตัวอย่างผลการค้นหา และปุ่มสร้างให้ในหน้า admin และ metadata ของหน้าเว็บสำหรับ Nuxt และ Next.js |
plugin จากคนอื่นตั้งชื่อว่า easy-cms-plugin-* และมี keyword easy-cms-plugin บน npm
เขียน plugin เอง
รับตัวเลือก คืนค่า (config) => config และต่อเพิ่มจากของเดิมแทนการเขียนทับ:
import type { Field, Plugin } from '@easy-cms/core'

const minutes = (text: unknown) => Math.ceil(String(text ?? '').split(/\s+/).length / 200)

export function readingTime(options: { collections: string[] }): Plugin {
  const field: Field = { name: 'readingTime', type: 'number', position: 'sidebar' }
  return (config) => ({
    ...config,
    collections: config.collections?.map((c) =>
      options.collections.includes(c.slug)
        ? {
            ...c,
            fields: [...c.fields, field],
            hooks: {
              ...c.hooks,
              beforeChange: [
                ...(c.hooks?.beforeChange ?? []),
                ({ data }) => ({ ...data, readingTime: minutes(data.excerpt) }),
              ],
            },
          }
        : c,
    ),
  })
}
ถ้าตัวเลือกผิด (เช่น slug ที่ไม่มี หรือชื่อ field ที่ถูกใช้แล้ว) ให้ throw Error ระบบจะหยุดตอนเริ่มทำงานและแสดงข้อความของคุณ
ตั้งชื่อ plugin
ส่งชื่อแพ็กเกจและเวอร์ชันให้ definePlugin แล้ว admin จะเห็นบนแดชบอร์ด (กล่องระบบ) ซึ่งช่วยได้มากตอนมีคนแจ้งปัญหา:
import { definePlugin } from '@easy-cms/core'
import pkg from '../package.json' with { type: 'json' }

export const readingTime = (options: { collections: string[] }) =>
  definePlugin((config) => ({ /* … */ ...config }), { name: pkg.name, version: pkg.version })
plugin ที่ไม่มีชื่อจะถูกนับรวมว่า "ไม่มีชื่อ" plugin ทางการทุกตัวตั้งชื่อตัวเองแล้ว
ใส่ type ให้ plugin
type ของเอกสารอนุมานจาก config และ type มองไม่เห็นสิ่งที่ Plugin ธรรมดาเพิ่ม post.readingTime จึงไม่มีอยู่ในสายตาของ
TypeScript definePlugin ใช้บอก type ว่า plugin เพิ่มอะไร เขียนแบบเดียวกับ field ใน config และ type parameter แบบ
const จะเก็บชื่อ collection ที่ผู้ใช้ส่งมา
import { definePlugin } from '@easy-cms/core'

type ReadingTimeField = { readonly name: 'readingTime'; readonly type: 'number' }

export function readingTime<const S extends string>(options: { collections: readonly S[] }) {
  return definePlugin<{ fields: { [K in S]: readonly [ReadingTimeField] } }>((config) => ({
    // … เหมือนด้านบน
  }))
}

// readingTime({ collections: ['posts'] }) → `post.readingTime: number | null | undefined`
definePlugin<T> คืน plugin เดิมไม่เปลี่ยน ส่วน T มีได้สามส่วน
fields | field ที่เพิ่มให้ collection ระบุตาม slug |
globalFields | field ที่เพิ่มให้ global ระบุตาม slug |
collections | collection ทั้งตัวที่ plugin เพิ่ม เช่น [{ readonly slug: 'redirects'; readonly fields: readonly [...] }] |
plugin ทางการทำแบบเดียวกัน post.meta (SEO), page.path และ page.breadcrumbs (หน้าย่อย) และ collection
redirects กับ forms จึงมี type ครบ ถ้าตัวเลือกไม่ใช่ค่า literal (เช่นตัวแปร string[]) field ของ plugin จะไม่ถูกเพิ่ม
แทนที่จะเพิ่มให้ทุก collection
ถ้าแพ็กเกจของคุณมีโค้ดที่รันใน browser ด้วย (เช่น seoMeta) อย่าดึง core เข้าไป ให้ใช้แค่ type แทนการ import
definePlugin คือ return plugin as TypedPlugin<…>
Endpoints
endpoints เพิ่ม route ให้ REST API ใต้ routes.api (/api/cms):
import { UnauthorizedError } from '@easy-cms/core'

// ใน config หรือให้ plugin เพิ่ม
endpoints: [
  {
    path: '/stats/:collection',
    method: 'get',
    handler: async ({ params, user, cms }) => {
      if (!user) throw new UnauthorizedError()
      const totalDocs = await cms.count(params.collection, { user, overrideAccess: false })
      return { totalDocs }
    },
  },
],
handler ได้รับ:
request, url | Request แบบ Web และ URL ของมัน |
params | ค่าของ segment แบบ :name |
user | ผู้ใช้ที่ login อยู่ (session cookie หรือ Bearer token) หรือ null |
cms | Local API ส่ง { user, overrideAccess: false } เพื่อใช้กฎสิทธิ์ของผู้ใช้ |
json() | body แบบ JSON ต้องเป็น object ขนาดไม่เกิน 1 MB |
คืนค่าใดก็ได้เพื่อส่งเป็น JSON หรือคืน Response สำหรับแบบอื่น ถ้าจะตอบ error ในรูปแบบของ API ให้ throw
UnauthorizedError, ForbiddenError, NotFoundError หรือ ValidationError จาก @easy-cms/core
- การเขียนข้อมูลจาก browser ต้องผ่านการตรวจ CSRFเหมือน API ในตัว
- segment แรกห้ามเป็น slug ของ collection หรือ
users,globals,admin,jobs,mediaให้ขึ้นต้นด้วยชื่อ plugin เช่น/seo/generate - segment ที่ตายตัวชนะ parameter:
/stats/summaryมาก่อน/stats/:collection - path ที่ถูกแต่ method ผิดจะได้
405พร้อม headerAllow root: trueเสิร์ฟ path จาก root ของเว็บแทน เช่น/robots.txtมีแต่standalone serverที่เสิร์ฟ endpoint แบบนี้ เพราะแอป Nuxt หรือ Next.js เป็นเจ้าของ root เอง plugin ที่มี root endpoint จึงควรมี helper ให้แอปใช้ใน route ของตัวเองด้วย (แบบplugin SEO) path แบบ root อยู่ใต้routes.api, หน้า admin หรือ/healthzไม่ได้
Admin components
หน้า admin build มาสำเร็จแล้ว plugin จึงเพิ่ม UI ด้วย Web Components: custom element ที่หน้า admin สร้างขึ้นแล้วส่งสถานะของหน้าแก้ไขให้ ใช้ได้กับทุก framework (หรือไม่ใช้เลยก็ได้) และยังทำงานได้แม้โค้ดภายในของหน้า admin เปลี่ยน
ใช้ได้ใน field และหน้าแก้ไข:
fields: [
  // แทนช่องกรอก หน้า admin ยังแสดงชื่อ field และข้อความ error ให้
  { name: 'color', type: 'text', admin: { component: 'ecms-color-picker' } },
  // ต่อท้าย field
  { name: 'summary', type: 'textarea', admin: { after: [{ tag: 'ecms-word-count', props: { max: 80 } }] } },
],
// กล่องในแถบข้างของหน้าแก้ไข (ทั้ง collection และ global)
admin: { sidebar: ['ecms-checklist'] },
component คือชื่อ tag ที่ขึ้นต้นด้วย ecms- หรือ { tag, props } โดย props ต้องเป็น JSON ธรรมดา
element จะได้รับค่านี้เป็น options
หน้าของ plugin และกล่องบนแดชบอร์ด
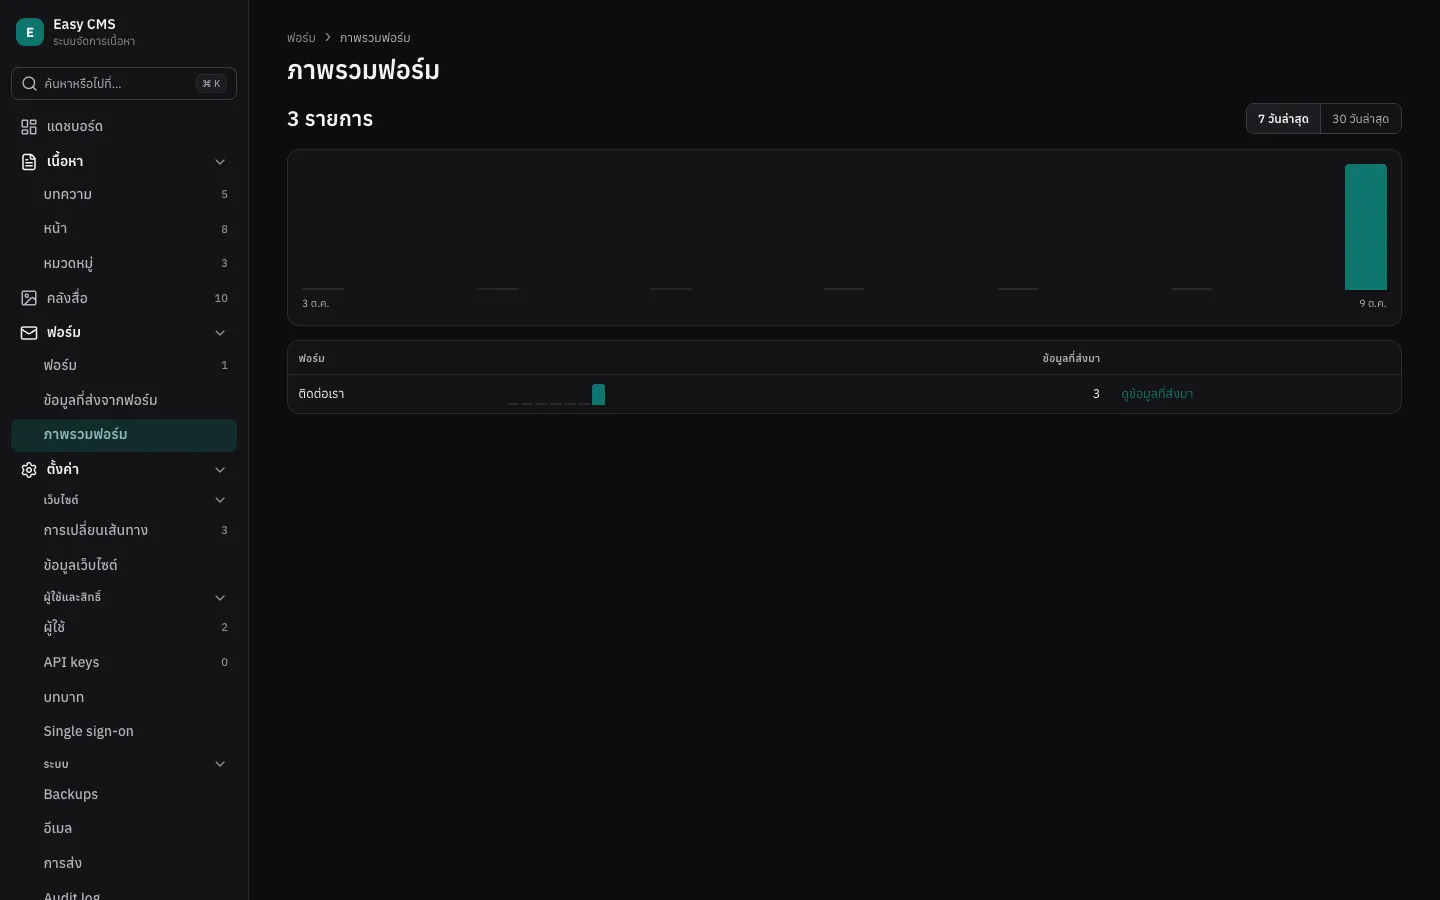
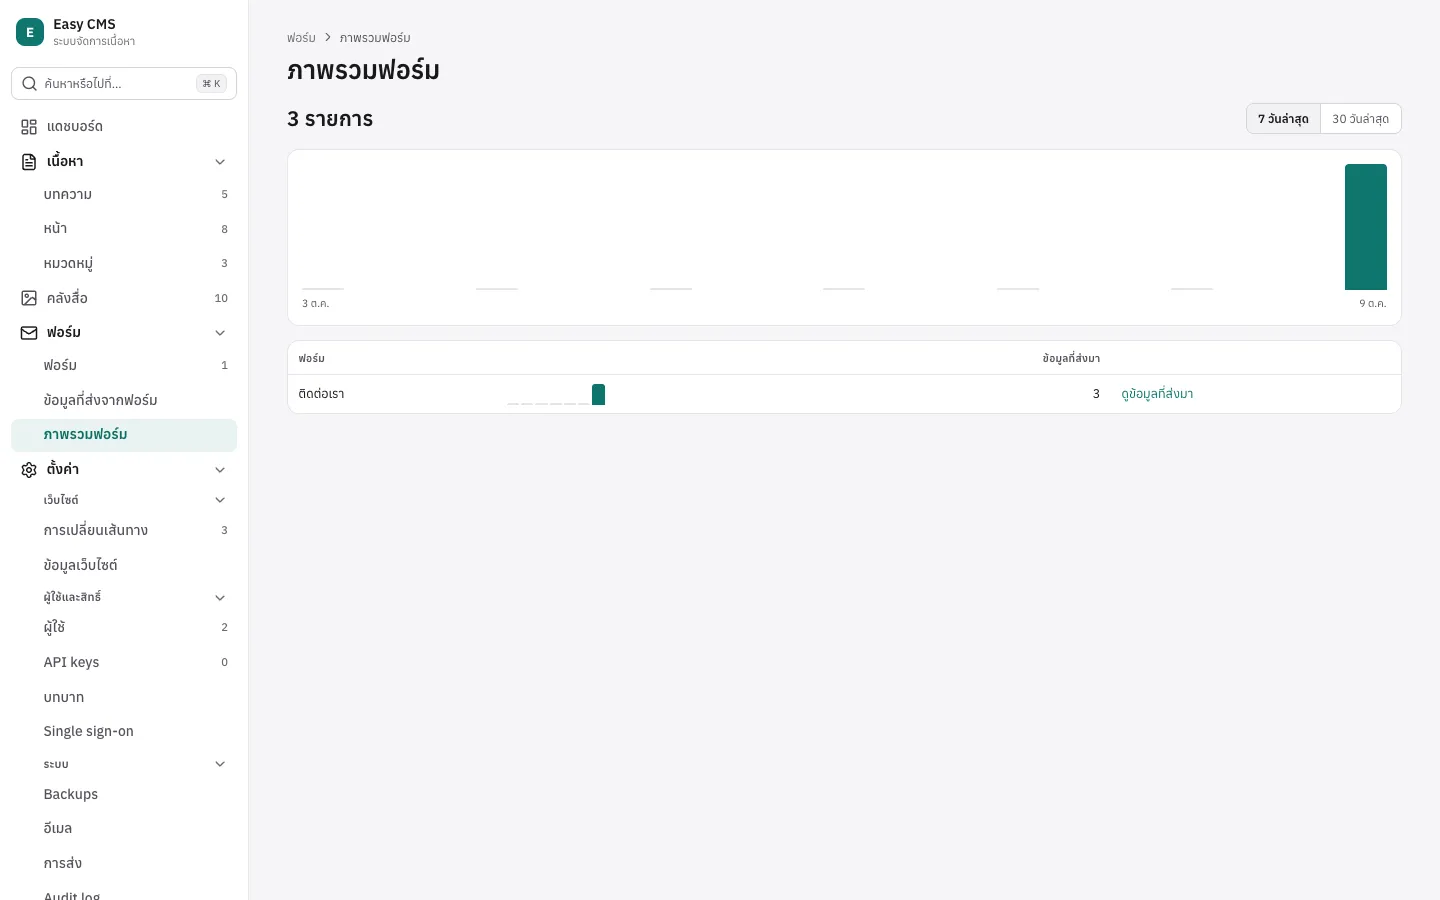
plugin มี หน้าของตัวเอง และ กล่องบนแดชบอร์ด ได้ด้วย เช่น หน้ารายงาน:
admin: {
  pages: [
    {
      path: 'site-stats',                         // /admin/p/site-stats
      label: { en: 'Site stats', th: 'สถิติเว็บไซต์' },
      icon: 'chart-column',
      component: 'ecms-site-stats',
      group: 'content',                           // หรือ 'settings' หรือ false: ไม่แสดงในเมนู
      access: ({ user }) => user.role === 'admin', // ค่าเริ่มต้น: ทุกคนที่ login
    },
  ],
  dashboard: [
    { component: 'ecms-visits-widget', width: 'half' }, // คอลัมน์ข้าง หรือ 'full': ด้านล่าง
  ],
},- หน้า admin วาดส่วนหัวของหน้าให้ (ใช้
labelเป็นหัวข้อและชื่อแท็บของ browser) element วาดส่วนที่เหลือ กล่องบนแดชบอร์ดอยู่ต่อจากกล่องที่มีอยู่เดิมตามลำดับใน config:half(ค่าเริ่มต้น) อยู่คอลัมน์ข้าง ข้างฉบับร่างรอตรวจและรายการแก้ไขล่าสุด ส่วนfullอยู่ใต้ทั้งสองคอลัมน์ บนมือถือเรียงเป็นคอลัมน์เดียว accessตรวจฝั่ง server: หน้าและกล่องที่ผู้ใช้ไม่มีสิทธิ์จะไม่ปรากฏใน admin ของเขา แต่เป็นแค่การซ่อน endpoint ที่ส่งข้อมูลให้ต้องตรวจสิทธิ์อีกครั้งเสมอ- path ของหน้าใช้ตัวพิมพ์เล็ก ตัวเลข และ
-และต้องไม่ซ้ำกัน - หน้าจะได้รับ
route: ส่วนที่อยู่ต่อจาก path ของหน้า (/admin/p/site-stats/2026→subpath: '2026') และ query ถ้าจะเปลี่ยนค่าเหล่านี้หรือเปิดหน้าอื่นใน admin ให้ส่งnavigate:this.dispatchEvent(new CustomEvent('navigate', { detail: '/p/site-stats?range=30' }))เก็บสถานะอย่างแท็บหรือช่วงวันที่ไว้ในที่อยู่ จะได้ไม่หายเมื่อรีเฟรชและส่งลิงก์ให้คนอื่นได้
ไฟล์ module
รวม element ไว้ในไฟล์ ES module ไฟล์เดียวที่ไม่ import อะไร แล้วระบุใน admin.modules
เป็น export ของแพ็กเกจ หรือ path จาก root ของโปรเจกต์:
admin: { modules: ['./admin/color-picker.js'] }            // ของคุณเอง
admin: { modules: ['@acme/easy-cms-plugin-color/admin'] }  // จากแพ็กเกจ
plugin เพิ่ม module ของตัวเองได้แบบนี้:
admin: { ...config.admin, modules: [...(config.admin?.modules ?? []), '@acme/easy-cms-plugin-color/admin'] }
server หาไฟล์ให้ (export ของแพ็กเกจต้องมี condition default) แล้วส่งให้ผู้ใช้ที่ login แล้วที่
<api>/admin/modules/<n>.js หน้า admin จะ import ทุก module หลัง login ห้ามใช้ URL ของเว็บอื่น
ถ้า module โหลดไม่ได้ หน้า admin ยังใช้งานได้และแจ้งว่า component ไหนหายไป
// admin/color-picker.js
class ColorPicker extends HTMLElement {
  #input = document.createElement('input')

  constructor() {
    super()
    this.#input.type = 'color'
    // event `change` ที่มีค่าใหม่ใน `detail` จะตั้งค่าให้ field
    this.#input.addEventListener('input', () =>
      this.dispatchEvent(new CustomEvent('change', { detail: this.#input.value })),
    )
    this.attachShadow({ mode: 'open' }).append(this.#input)
  }

  set value(value) {
    this.#input.value = value ?? '#000000'
  }

  set readOnly(readOnly) {
    this.#input.disabled = readOnly
  }
}
customElements.define('ecms-color-picker', ColorPicker)
สิ่งที่ element ได้รับ
หน้า admin ตั้ง property เหล่านี้ และตั้งใหม่ทุกครั้งที่ฟอร์มเปลี่ยน:
| Property | |
|---|---|
apiVersion | 1 จะเพิ่มเฉพาะเมื่อมีการเปลี่ยนที่ทำให้ component เดิมพัง |
value | ค่าของ field (สำหรับ component ของ field) |
path | path ของ field เช่น meta.title (สำหรับ component ของ field) |
field | field ตามที่หน้า admin เห็น: name, type, label, maxLength… |
label | ชื่อ field ในภาษาของหน้า admin |
doc | ค่าทั้งฟอร์มที่กำลังแก้และยังไม่ได้บันทึก (เป็นสำเนา) |
collection / global | slug ของสิ่งที่กำลังแก้ |
id | id ของเอกสาร เป็น null ระหว่างสร้างใหม่ |
locale | ภาษาของเนื้อหาที่กำลังแก้ หรือ null ถ้าไม่ได้เปิดหลายภาษา |
uiLocale | ภาษาของหน้า admin: en หรือ th |
readOnly | ผู้ใช้แก้ไขไม่ได้ |
options | props ของ component |
api(method, path, body?) | เรียก REST API ในนามผู้ใช้ที่ login อยู่ (แนบ cookie และ CSRF ให้แล้ว) เช่น endpoint ของ plugin |
user | ผู้ใช้ที่ login อยู่: id, email, role |
route | บนหน้าของ plugin: { subpath, query } ที่อยู่ต่อจาก path ของหน้า ที่อื่นเป็น undefined |
และฟัง event เหล่านี้:
| Event | detail | |
|---|---|---|
change | ค่าใหม่ | ตั้งค่าให้ field (สำหรับ component ของ field) |
set-field | { path, value } | ตั้งค่าให้ field ใดก็ได้ในฟอร์ม เช่น meta.title จากปุ่มสร้างให้ |
navigate | path ภายใน admin | เปิดหน้านั้น เช่น /collections/posts หรือ /p/site-stats?range=30 |
การเปลี่ยนแปลงจะยังไม่ถูกบันทึกจนกว่าผู้แก้จะกดบันทึก
การจัดสไตล์
สไตล์ใน shadow root ไม่รั่วเข้าหรือออก แต่ CSS variable ผ่านเข้าไปได้ ให้ใช้ตัวแปรของหน้า admin
เพื่อให้เข้ากับธีมสว่างและมืด: --text, --text-muted, --surface, --surface-2, --border,
--border-strong, --brand, --accent-soft, --danger, --ok, --warning-text, --info,
--focus, --radius, --radius-sm
ความปลอดภัยและการ deploy
- admin module ทำงานด้วยสิทธิ์ของผู้ที่ login อยู่ ติดตั้งเฉพาะ plugin ที่เชื่อถือได้ เหมือน dependency อื่น ๆ
- Nuxt module และ
withEasyCMS()ของ Next.js รวมไฟล์ module เข้าไปใน build ของ server ให้เอง (Next.js ตั้งแต่ 0.13.1) จึงโหลดได้ทั้งบน Vercel และ output แบบ standalone
ขั้นต่อไป
- ชนิด field เพิ่มเติม: เพิ่ม
typeที่มีช่องกรอกของตัวเอง เช่น สำหรับ plugin ของคุณ - SEO: plugin SEO
- REST API: endpoint อยู่ใน API อย่างไร